Making a slatted fence
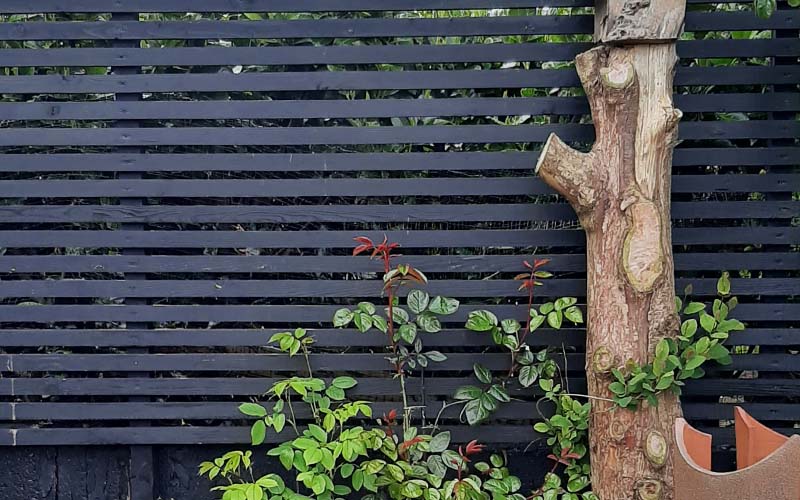
Making a slatted fence gives you the chance to put up a bespoke fence that’s unique to you. There are endless possibilities to tailor it to your own taste and budget, including the type of wood, dimensions, profile, and of course colour. We ended up making one because the neighbour at the bottom of our garden drastically cut back their Laurel hedge. It went from well over 5m to about half that in one afternoon. Plus, they did it very, very badly! Knowing that in time the hedge would eventually grow back, we didn’t need a solid fence, just something to disguise the current eyesore. The access was very limited and putting up standard fence panels wasn’t an option. It also didn’t need to start at ground level because there was an old wall along the boundary.
We loved the beautiful cedar slatted fencing we’d seen on gardening programmes, but as most of the wooden structures in our garden are painted black, it would have been a waste of money. The concept was right; easier to install than standard fence panels, and we could make it any height and shape we liked. Doing a bit of research, we found that other people had used roofing battens to give a similar effect. These were readily available from builders’ merchants and came in different shapes and sizes. Being at the end of the garden and stained black, it didn’t matter that the wood wasn’t uniform and often rough sawn.
Preparation is key. It may take time to work out the measurements and design of your fence, but it is generally time well spent.
1. Measure the area you need to cover. Once you have this, calculate how many fence posts and roofing battens you need. This will depend on the fence height and patten of battens you choose.
2. Install the fence posts. We attached ours to the wall rather than putting them in the ground. Make sure the posts are firmly in place and totally vertical.
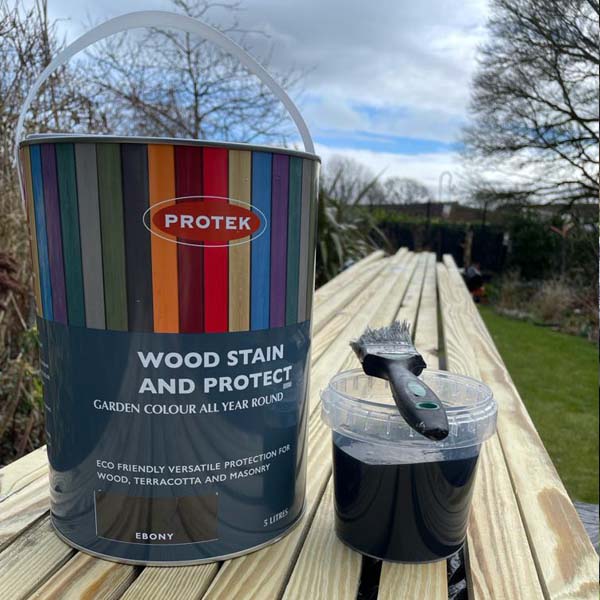
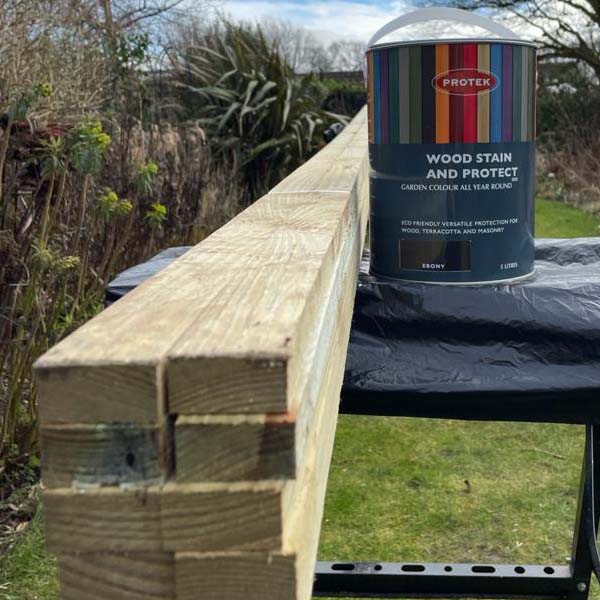
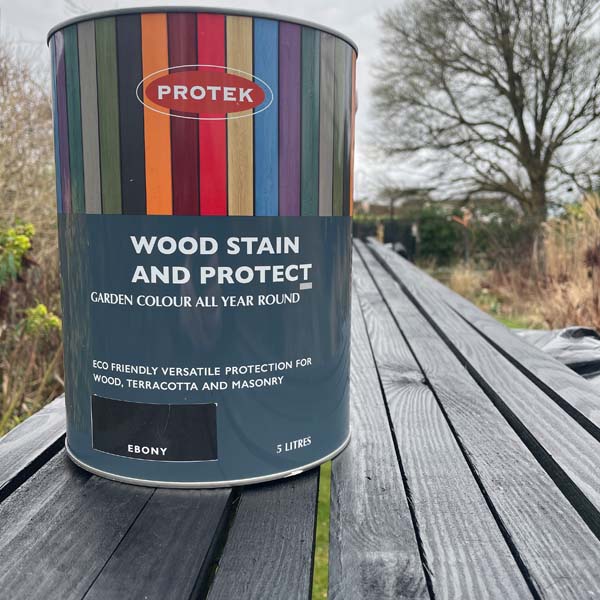
3. If you are painting or staining the battens, it is easier to do this before putting them up. Give them at least two coats to keep them looking good for as long as possible. We used Wood Stain and Protect Ebony. As you do this make sure the battens aren’t warped and don’t have any splits or holes.
4. Fix the first row of battens to the fence posts. This will probably be a two-person job unless the width you are covering is small. Start with the bottom row and attach the first batten(s) with either nails or screws. Make sure this is completely level because it will act as a guide for the rest of the fence. Once this first row has been installed, put a spacer on top of it so you can position the next row of battens. This can be anything, but it should be the same as the gap you want to see in between each row of the finished fence. We used off cuts of wood to do this. Fix the second row in place as before, removing the spacers when you’ve finished. Repeat this process, checking occasionally the rows are still level, until you reach the desired fence height.
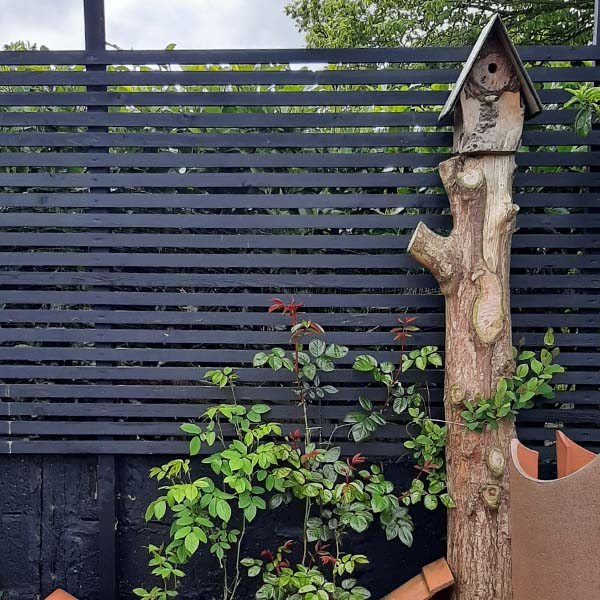
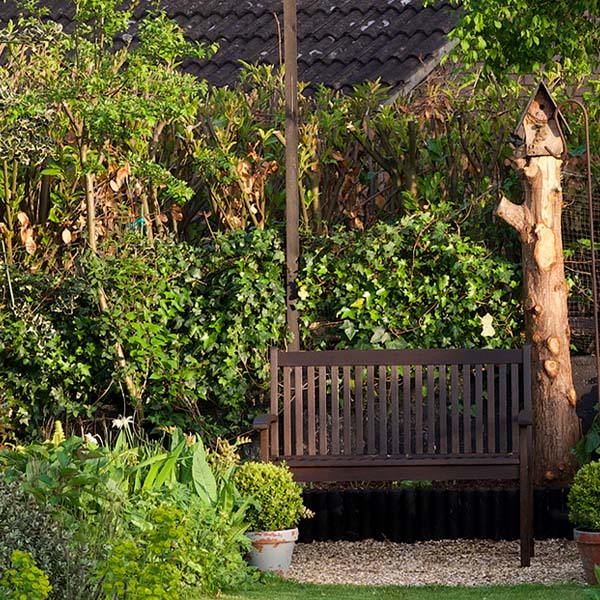
The concept of a slatted panel is extremely versatile and can be used for screening as well as fencing. Hiding your wheelie bins, compost heap or even creating a secluded outdoor seating area to relax in after all your hard work.
We used Wood Stain and Protect in Ebony