HOW TO Paint and plant up pots
Our “How to” on painting, then potting your outdoor plant pots.
The clocks have changed, Summertime is officially over, and Autumn is on its way. Why not get ahead and plan some colour for your garden next year to brighten those long Winter days. The DIY stores and Garden Centres have bulbs on display right at the front of their stores, a great reminder to get planting. September through to November is the best time to plant Spring flowering bulbs for a splash of colour next year, so you’ve still got time. You may only have a small outdoor space like a patio or balcony, but you can still squeeze in a pot or two, plus they have the advantage of being portable, giving a display wherever you want it. In this ‘How to’ we will be covering the transformation from old boring pots you have lying around, to beautifully planted pots and pots ready with bulbs in waiting to bloom next year.
Why is it this a great little project?
Not only do you get amazing pots full of your very own style and without buying new ones, but upcycling is environmentally friendly by saving resources, reducing waste, and cutting energy consumption. Extend the lifespan of your pots and do a bit of sustainable gardening, saving money and giving you something ecofriendly that’s unique to you.
Got some left-over paint or sample pots?
Then this is a great way to use them up; save even more money and stop it going to landfill. Check the product is still OK and you’re good to go!
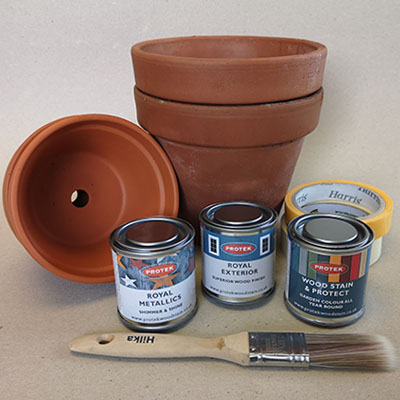
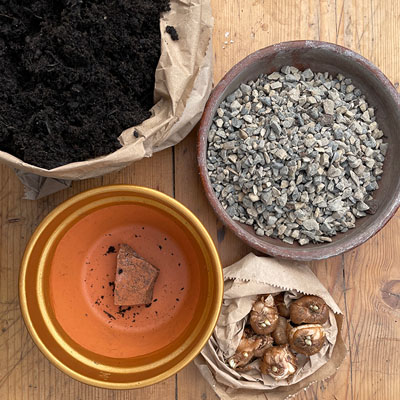
What you will need
• Bulbs for flowering next year or plants that are in season now
• Pot to suit the size and height of your bulbs or plants
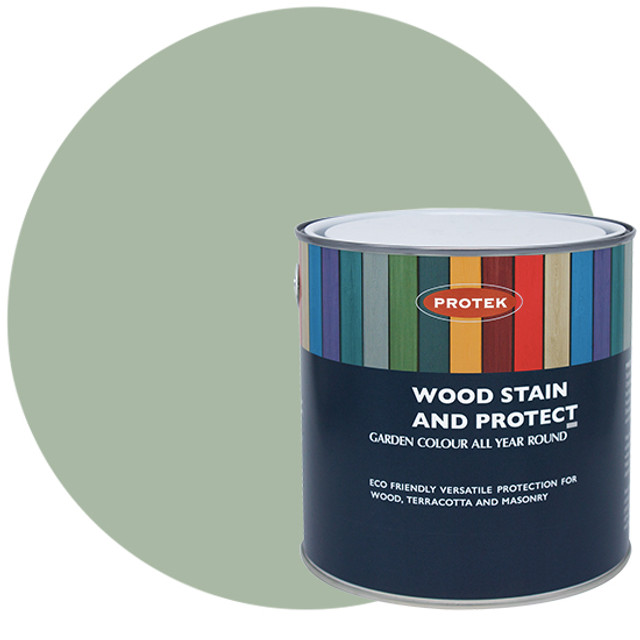
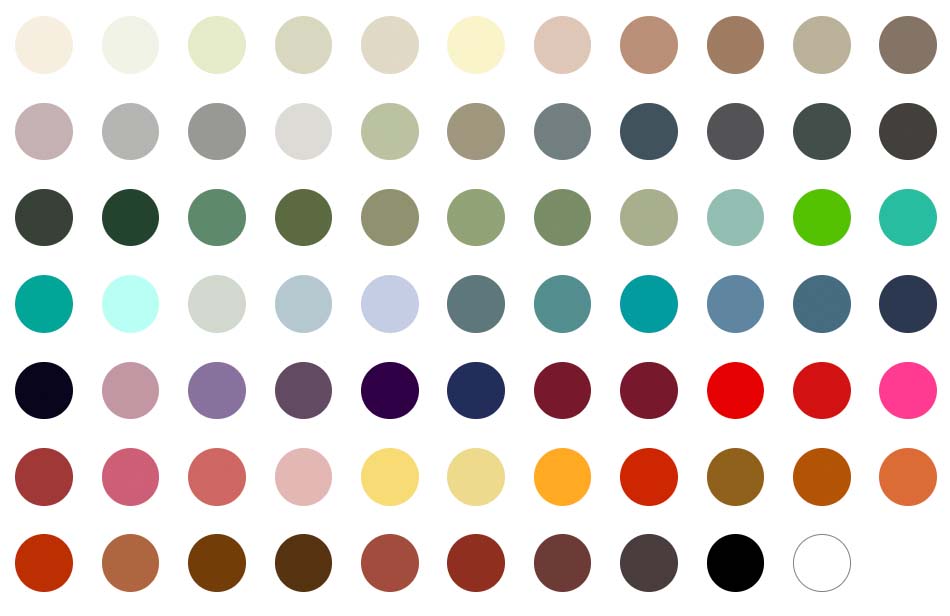
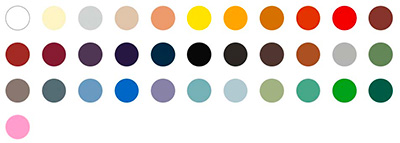
• Royal Exterior, Wood Stain & Protect or Royal Metallics in your chosen colour
• Masking tape (if doing a pattern or two-tone design)
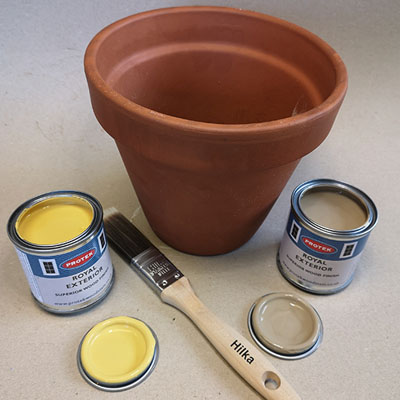
Step 1 – Prep your pots
1. Choose a suitable size and shape of pot to compliment your bulbs or plants, which could be wood, terracotta or plastic.
2. Make sure your pots are clean and dry, so remove any dirt and sticky labels.
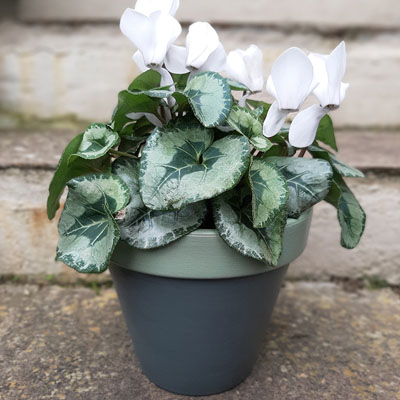
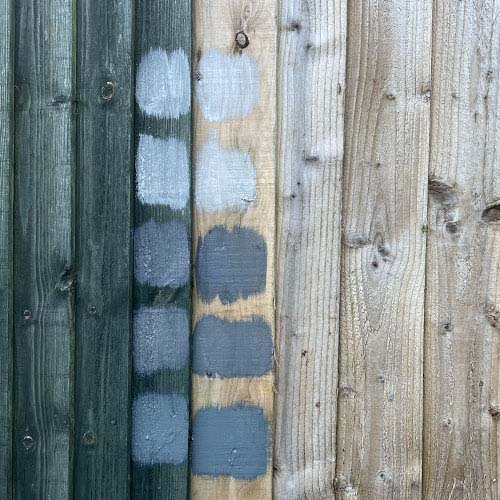
3. Decide on your paint colour, either to compliment your bulbs or plants, or a neutral colour to let them stand out. For best results use Wood Stain and Protect or Royal Exterior.


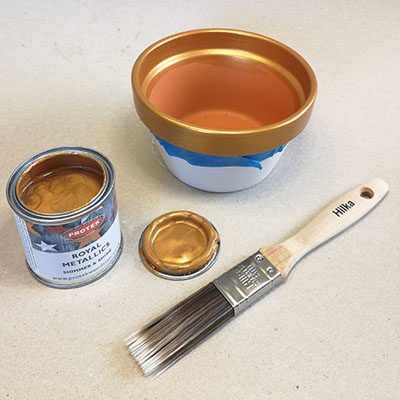
Step 2 – Time to paint
1. Cover your painting area to catch any spills.
2. Use a synthetic brush, plus masking tape if you’re doing a pattern.
3. Work your way around the pot applying a thin even coat of paint.
4. Leave the pot to dry fully and apply a second coat.
5. Wait at least 24 hours before planting up, to allow the coating to harden completely.

Step 3 – Planting your bulbs or plants
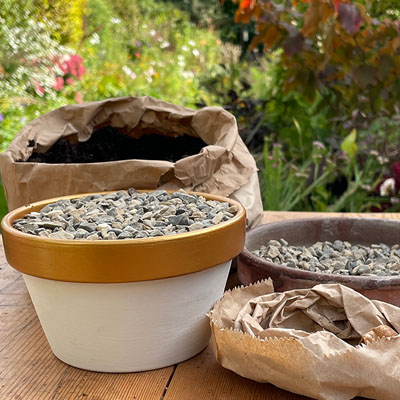
1. Fill the bottom of the container with crocs (e.g. broken pots)
2. Use a mix of peat-free compost and grit for planting.
3. Put a layer of potting mixture in after the crocs, then place in the bulbs, making sure they don’t touch. The root plate downwards and the pointier end upwards. Exact planting depths will depend on the bulbs you’ve chosen, so check the packet details.
4. Cover with more potting mix and finish with a layer of grit or mulch.
5. Once finished place in a sheltered position and water thoroughly.
6. When the first shoots start to appear, move to a position where you can enjoy the fruits of your labour.
Remember by doing this you not only bring your style into your outdoor space, but it has great environmental benefits. Gardeners and plant enthusiasts can save money, as they don't need to purchase new pots for every plant or growing season.
So if you haven’t started on this project yet, make sure you go and have a look for those old pots outside! Then go and choose your colours from our Wood Stain and Protect, Royal Exterior or Royal Metallics ranges.
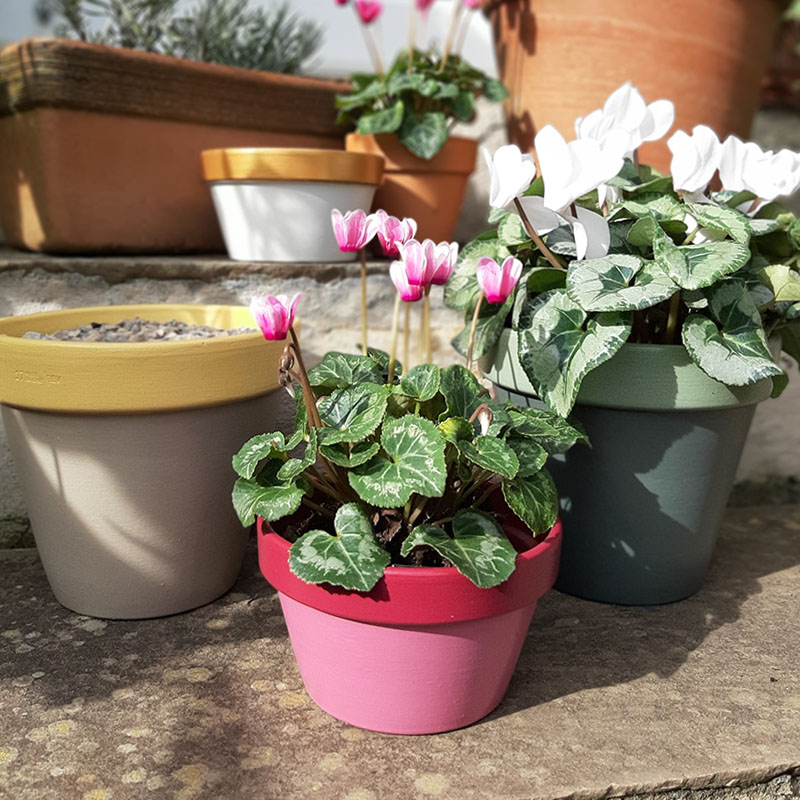
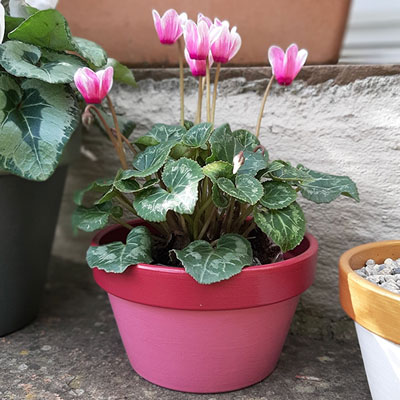
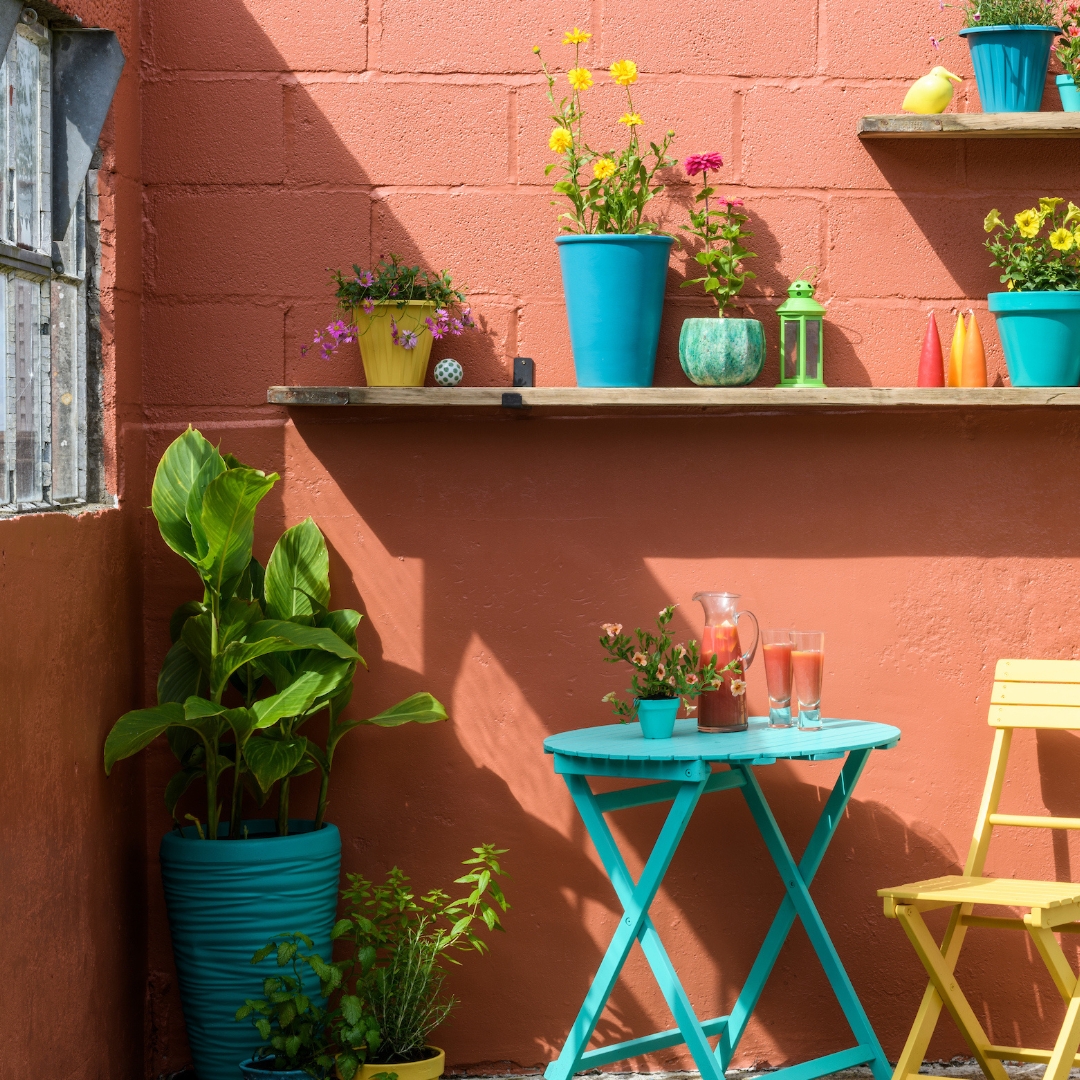
Want Some Inspiration?
Bright & Cheery


TOP TIP
For impact plant one variety in a pot or for a longer display using a larger pot, layer bulbs, latest and largest flowering at the bottom, with the earliest and smallest on top. This is sometime known as a bulb lasagne! Between each layer of bulbs put a layer of the potting compost mix and continue until you have reached the top.
We have the perfect products, choose YOUR perfect colours!

The Detailed Instructions
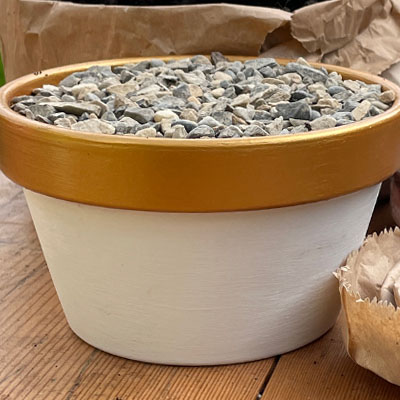
Choose a suitable size and shape of pot to compliment your bulbs or plants, which can be made from wood, terracotta, or plastic. We chose terracotta pots, but if your old plastic pots have become faded and scruffy, don’t throw them away, they can easily be revived and given a new lease of life. Make sure your pots are clean and dry, so remove any dirt and sticky labels. The better your preparation, the better the final finish will be. We would recommend Wood Stain and Protect or Royal Exterior for painting pots, which can both be used on wood, terracotta, or plastic. Decide on your paint colour, which could compliment the colour of your bulbs or a neutral colour to let the bulbs stand out. If you have the time, you could even paint a pattern, or go two tone.
Put a suitable covering on your painting area to catch any drips or spills and begin painting. Use a synthetic brush as these usually work better with water-based paints because the fibres don’t absorb water like natural bristles. If you’ve chosen to do a pattern, use masking tape to mark out the pattern to ensure clean, sharp lines. Work your way around the pot applying a thin even coat of paint, making sure you cover the edges and also part way down the inside of the pot. You don’t have to paint the whole of the inside, just enough so that once it has been filled with compost, you can’t see any of the original colour. Leave the pot to dry fully and then apply a second coat in the same way. We would recommend leaving the pots for at least 24 hours before planting up, to allow the coating to harden completely.
Now for the planting. Fill the bottom of the container with crocs e.g. broken pots, as this aids drainage. If you have a very large pot, you could use polystyrene as this also reduces the amount of compost you use and therefore weight. Use a mix of peat-free compost and grit for your bulbs to give added drainage as bulbs are notorious for rotting over winter if they get too wet. There are a wide selection of bulbs available either from your local store or on-line, but try to keep them in proportion to the size of your container. After the crocs, put a layer of potting mixture in and then start placing your bulbs, making sure they don’t touch. The root plate should be downwards and the pointier bit upwards. Cover with more potting mix and finish with a layer of grit or mulch. For impact plant one variety in a pot or for a longer display using a larger pot, the bulbs can be layered (sometimes called a bulb lasagne!). The latest and largest flowering ones at the bottom, and the earliest and smallest on top, for example Tulips at the bottom, Narcissus in the middle and Iris dwarf bulbs on top. Between each layer of bulbs put a layer of the potting compost mix and continue until you have reached the top. Exact planting depths will depend on the bulbs you have chosen, so check the packet details. Once finished place in a sheltered position and water thoroughly. When the first shoots start to appear in Spring, move to a position where you can enjoy the fruits of your work.
If you want some colour now, paint up your pot as before, but choose winter flowering plants such as Pansies, Violas or something with bold leaf colour such as Heucheras. Fill the bottom of the container with crocs and then add peat-free compost leaving enough space at the top for your plants. Place in the plants to work out their positions and then fill in around them with more compost once you’re happy. Finish with a layer of grit or mulch.